Tradicionālās vannas istabas iezīme vienmēr ir bijusi vanna. No ikdienas nepieciešamības kļūstot par greznības sajūtu, vanna kļuva par relaksācijas esenci. Laikam ritot, ir mainījušās arī mūsu tehnoloģijas, stila preferences un labsajūtas rutīnas.
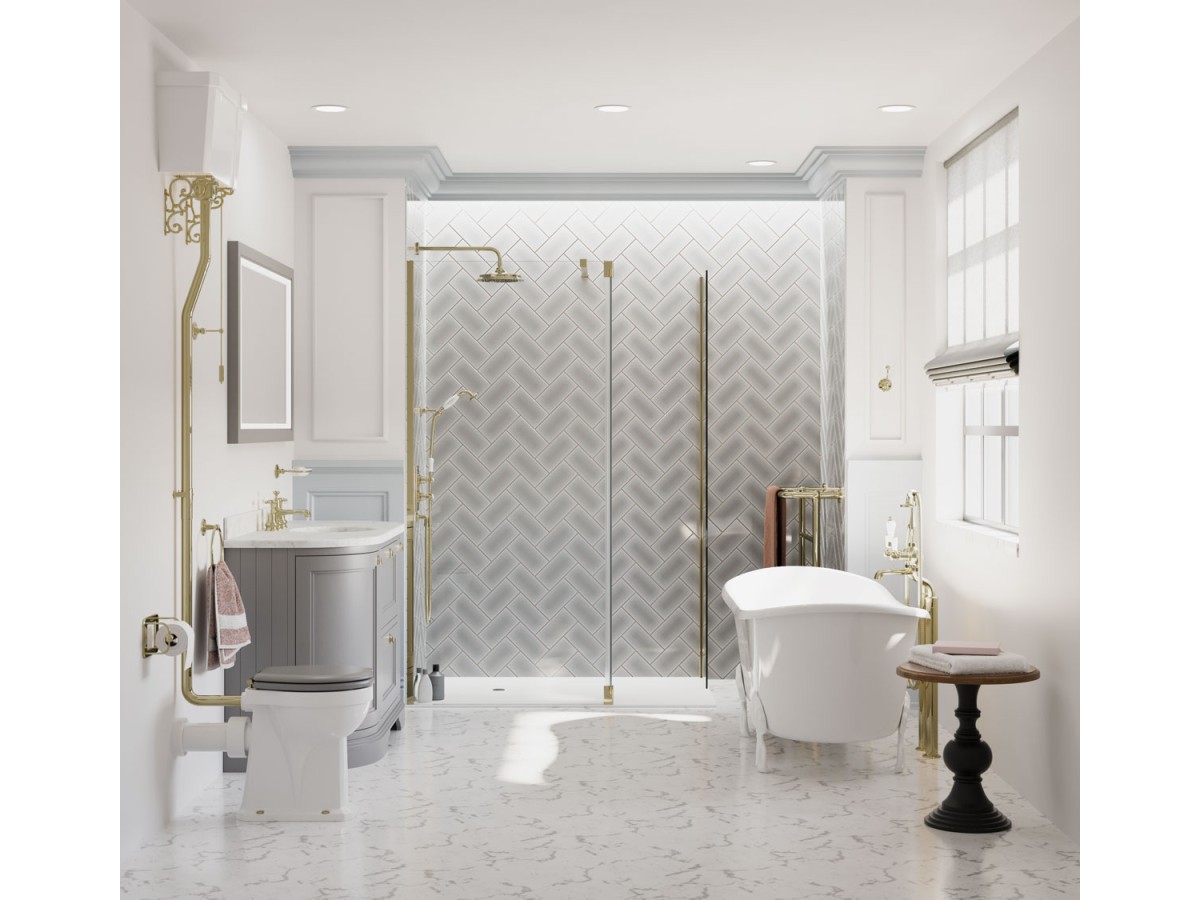
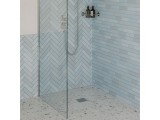
Daudziem duša ir kļuvusi par patīkamu atpūtu, relaksācijas un atdzīvināšanas pieredzi. Tāpēc tik daudzi izvēlas Walk in dušas kabīnes savam pagaidu vannas istabas dizainam.
1. Izvēlieties savu Walk In konfigurāciju
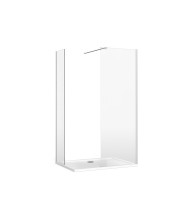
Galvenais, kas ir jebkura dušas dizaina pamatā, ir pati dušas telpa. Tā kā viena vieta mājā, kur privātums un apmierinātība ir vissvarīgākā, nevainojami stikla paneļi ir rūpīgi jānovieto, lai radītu telpu, kas veicina drošības un miera sajūtu.
Sāciet, apsverot, kas izmantos dušu, pieejamo vietu un stilu, kuru vēlaties. Kad zināt, kur vēlaties doties, nosakiet, kāda veida telpa jums ir. Vai tā ir padziļinājums, stūris vai taisna atvērta siena? Tas palīdzēs jums viegli atrast konfigurācijas, kas piemērotas pieejamajai telpai.
Ir arī svarīgi zināt telpas lielumu, ar kuru strādājat. Izmēriet zonu, kurā vēlaties novietot dušu, un izvēlieties piemērota izmēra stikla paneļus. Mēs iesakām atstāt vismaz 500 mm ieejas telpai.
Kad jums ir visa šī informācija, ir pienācis laiks izvēlēties konfigurāciju. Izmantojot mūsu moduļu komponentu iespējas, jums ir neticami dizaina elastība, kas sniedz jums brīvību izveidot savu risinājumu.
2. Apsveriet savus stabilizējošos stiprinājumus
Pilnīgai atpūtai jums ir nepieciešams sirdsmiers, ka jūsu dušas telpa ir droša un droša. Mums ir pieejami stabilizējošie stieņi, kas palīdzēs sasniegt vēlamo dušas telpu. Atkarībā no dušas konfigurācijas, iespējams, būs jāizmanto stiprinājumu kombinācija. Lūk, kā tās darbojas:
Sienas stiprinājuma stienis: šis stabilizējošais stienis savieno stiklu ar sienu. 1200 mm garumā tas var atbalstīt paneļus līdz 1400 mm.
Griestu stiprinājuma stienis: šis stienis savieno stikla paneļus ar griestiem. 600 mm garumā tas var atbalstīt paneļus līdz 1000 mm.
T stiprinājuma stienis: "T" forma savieno divus stikla paneļus līdz 1000 mm garumā ar sienu.
3. Aizsargājiet no šļakatām ar papildu deflektoriem
Samaziniet ūdens šļakatas ārpus dušas, pievienojot eņģu deflektora paneli. Strādājot pie 180° eņģes, deflektora panelis var griezties, lai nodrošinātu lielāku piekļuvi. Atbilstošā eņģu apdare un skaidra blīve nodrošina jūsu pastaigu viengabalainu izskatu.
Jums būs jāņem vērā jūsu izvēlētais stiprinājuma stienis — mēs neiesakām uzstādīt deflektora paneli, ja esat izvēlējies griestu stiprinājuma stieni.
4. Izvēlieties savu dušas pamatni
Mūsu dušas kabīņu klāsts ir piemērots dušas paliktņiem vai flīžu grīdai, kas nozīmē, ka jums ir iespēja izveidot klasisku dušas kabīni vai mitru telpu.
5. Pabeidziet savu dušas telpu
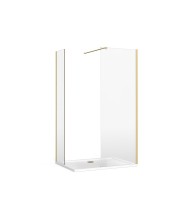
Tagad jūs zināt luksusa dušas izkārtojumu un stilu, ir pienācis laiks to pielāgot jūsu vannas istabas shēmai. Mūsu dušas klāsts ir pieejams zelta, pulēta hroma un matēta niķeļa krāsās, tāpēc to var nemanāmi integrēt jebkurā tradicionālā vai pārejas tipa vannas istabas dizainā. Izvēlieties atbilstošus misiņa traukus un piederumus saskaņotam interjeram.
Tagad jūs zināt luksusa dušas izkārtojumu un stilu, ir pienācis laiks to pielāgot jūsu vannas istabas shēmai. Mūsu dušas klāsts ir pieejams zelta, pulēta hroma un matēta niķeļa krāsās, tāpēc to var nemanāmi integrēt jebkurā tradicionālā vai pārejas tipa vannas istabas dizainā. Izvēlieties atbilstošus maisitāju un piederumus saskaņotam interjeram.
Parādītās konfigurācijas ir tipiskākās opcijas; ja jums ir nepieciešams kaut kas cits, lūdzu, sazinieties ar mums.


Uzrakstiet komentāru